Whether a home is newly yours or you’re just sprucing it up, these handcrafted shutters add beauty and value to it that will endure. The money and time saved with a quick and easy DIY installation is by design – down to every detail with you in mind.
From the pre-drilled frames and easy-to-follow labels, to the durable materials and warranty, these shutters can get started lasting you a lifetime.
SHOP NOW
Eligible for $1200 Energy Tax Credit – Learn More
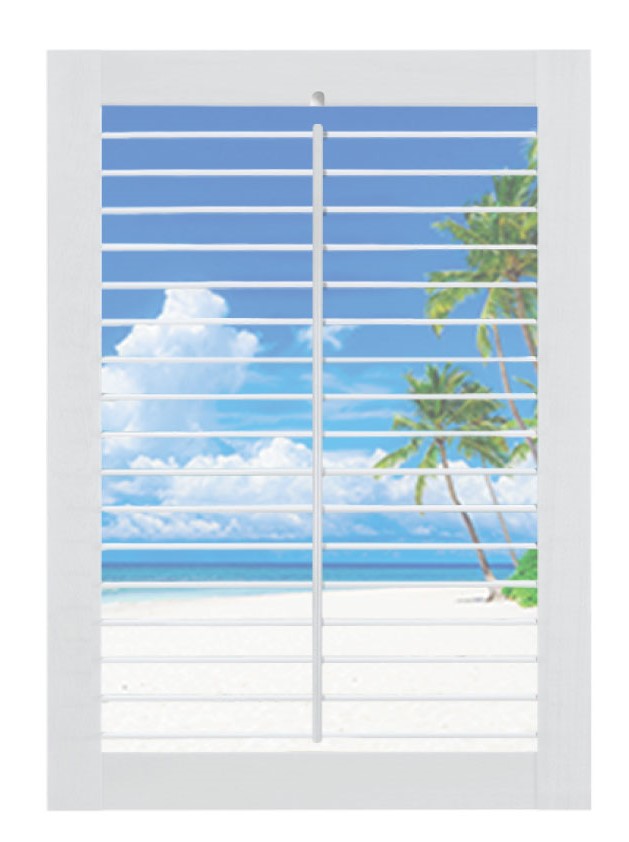
TiltFree
®
The traditional tilt rod that operates the shutter louvers can get in the way. Our innovated TiltFree® eliminates the tilt rod, keeping your shutters streamlined and your view unobstructed.
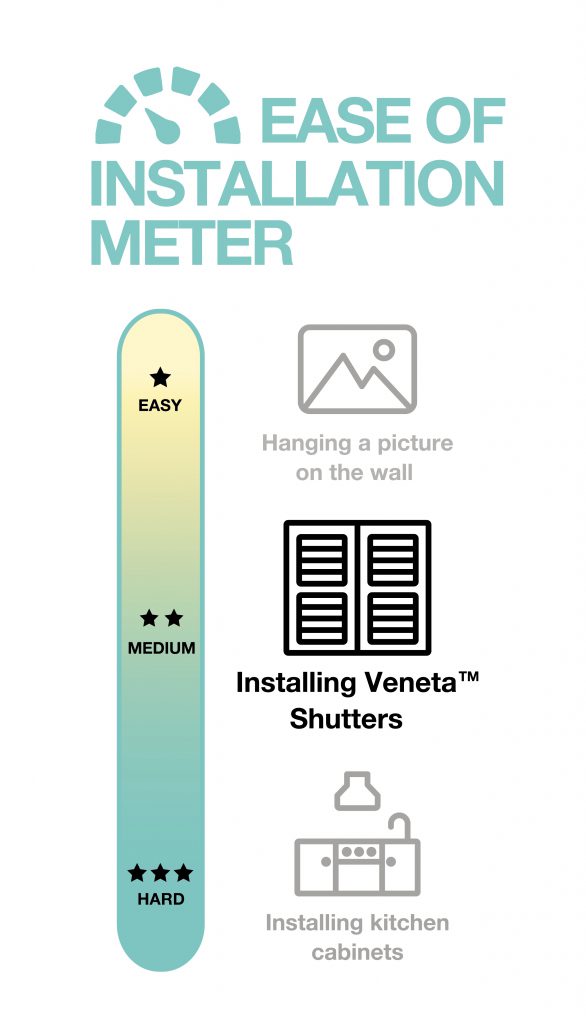
DIY Installation in 5 Simple Steps
In only five steps, these shutters will save you money (and of course time)! Pre-mitered, pre-drilled frames and easy-to-follow location labels take the guesswork out of the experience. This DIY job will be a job well done.
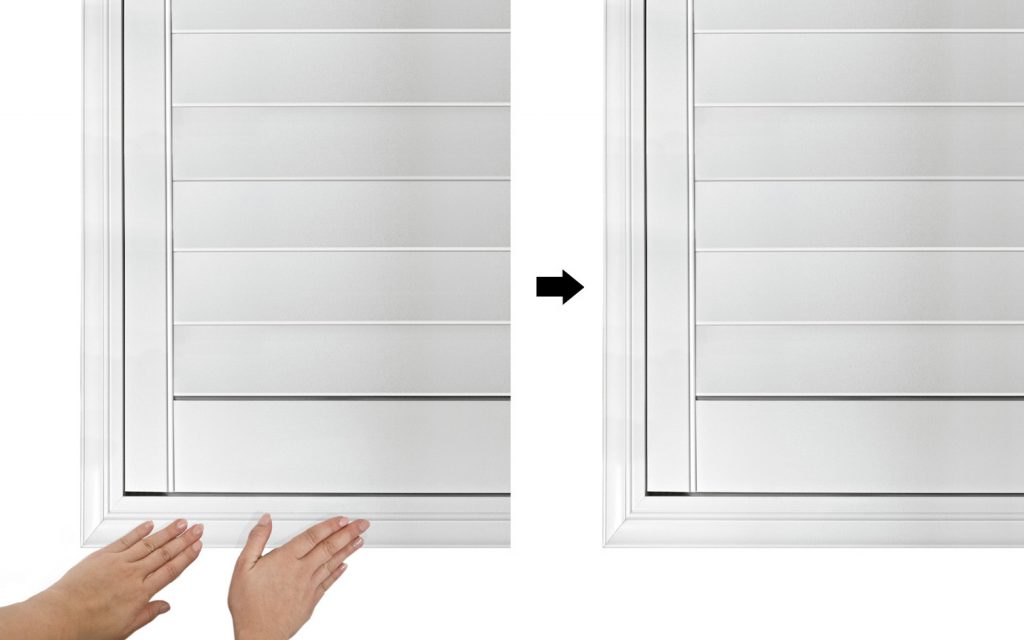
Frame Inserts
Put an instant finishing touch on your installation with these frame inserts. Not a sign of a screw – only a professional installation job and a perfect frame.
Patented Coating
Superior to traditional paints, the coating makes the shutters extremely durable and resistant to cracking, yellowing, and chipping over time.

For the most accurate assessment of colors and patterns, please request free swatch samples from homedepot.com.


Louver Sizes
2.5″

Favorite for small windows, great for any size.
3″

A popular choice for most windows.
3.5″

Wider views made for larger windows.
Frame Style (Outside Mount)
Deco Frame
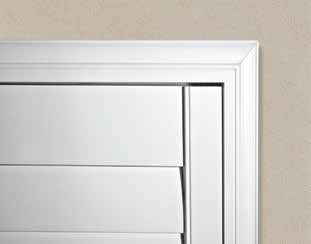
The ornate decorative frame is perfect for a classic look.
L Frame
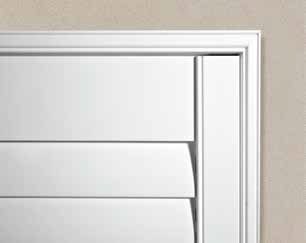
Clean lines offer a contemporary look.
Frame Style (Inside Mount)
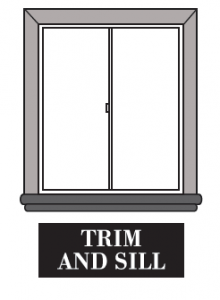
Hang Strip
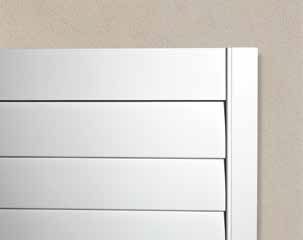
A simple style complements the existing window trim or sill.
Louver Operation
How your louvers tilt.
Standard Tilt Rod
Tilt the louvers with this traditional tilt rod option that matches the classic style of your shutters.

TiltFree™
This innovation eliminates the tilt rod used to open and close shutter louvers. Simply tilt the louvers by hand.
Panel Configuration
Your shutter panel configuration determines how your shutters will open and will depend on your window opening measurements.
1 Panel
Panel opens to the left or the right.
Min. Window Width: 10 1/4”
Max. Window Width: 34 7/8”
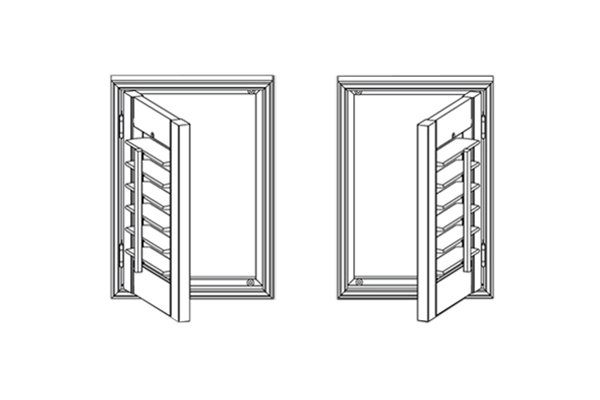
2 Panels
One panel swings open to the left; one panel swings open to the right.
Min. Window Width: 20 1/4”
Max. Window Width: 70 3/4”

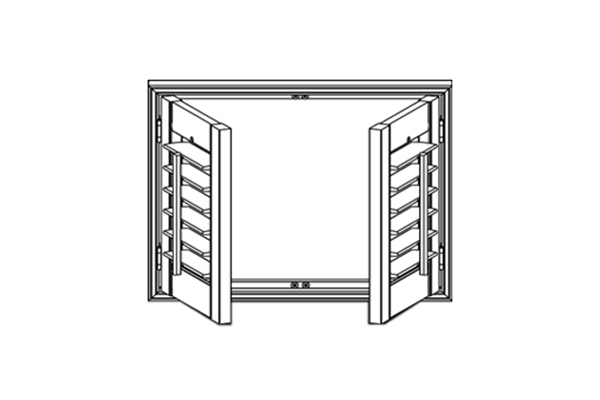
4 Panels
Left bifold panel folds and then opens to the left; right bifold panel folds and then opens to the right.
Min. Window Width: 40”
Max. Window Width: 92”
How to Measure for Your Shutters
Pro Tips:
– Use metal measuring tape, as cloth tapes may stretch.
– Measure to the nearest 1/8”
– Do NOT add or subtract. Order with the exact measurements.
– Always measure twice to ensure accuracy.
Tools needed for measuring
– Metal measuring tape
– Pencil
– Paper
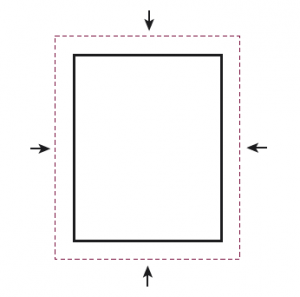
Step 1: Window Frame Size
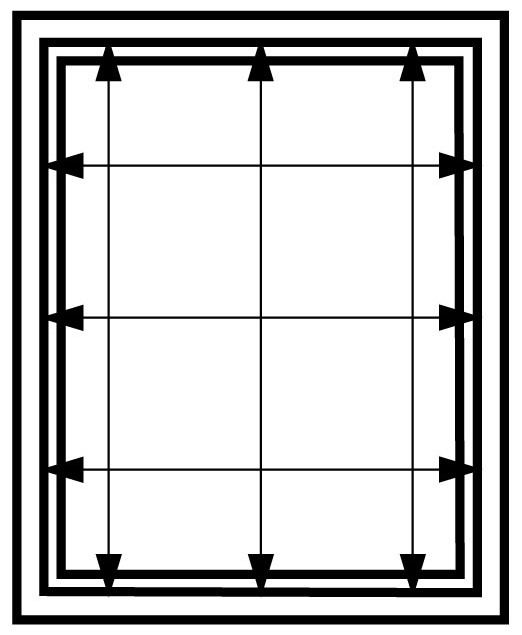
Measure inside width and height in 3 places.
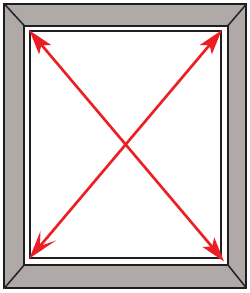
PRO TIP: Take two diagonal measurements. If the difference between the two is greater than 1/2 inch, an outside mount is recommended.
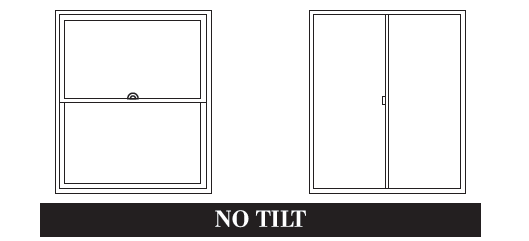
Step 2: Window Style
Does your window tilt inward?

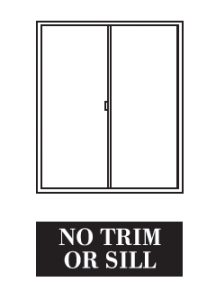
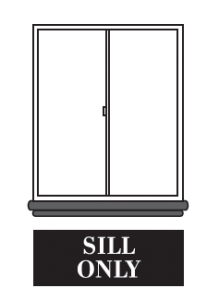
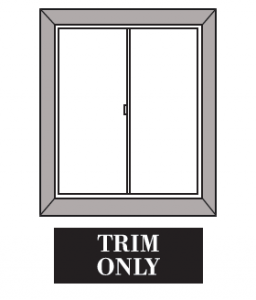
Step 3: Window Type
Do you have a protruding sill or window trim?
Step 4: Wall Clearance for Outside Mounts
Measure how much wall space is around your window. Use the smallest measurement.
Note: Measuring for Outside Mount Frames
There is a minimum mounting space requirement for outside mounted shutters. See chart for details:
| Frame Style | Min. Space Required |
|---|---|
| L Frame | 1 1/2″ |
| Deco Frame | 2 5/8″ |
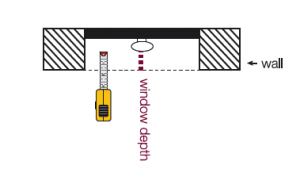
Step 5: Window Depth
Measure the depth of the window – from the edge of the wall to the window pane.